
The first step is the front-end.
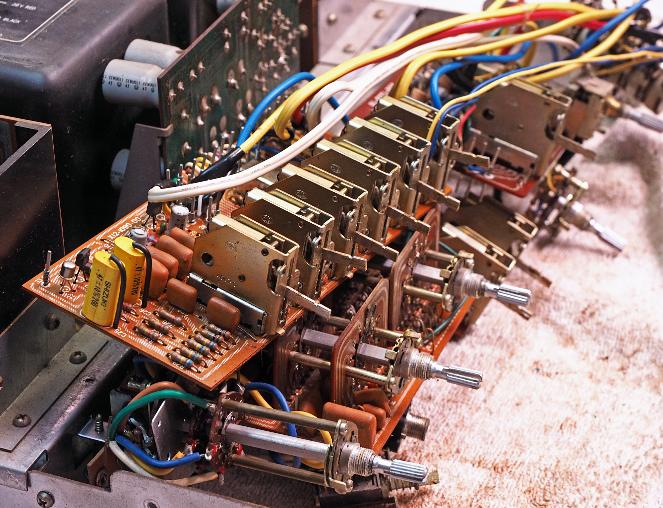
Once the front panel is removed
the switches lay in a heap in front
of the unit. I turned the unit up on
its side to give access to both the
front and back of the boards.
This unit has lots of switches and
knobs. Each one gets cleaned
with a commercial contact cleaner
and an application of DeOxit. It
took awhile to get through these.
Afterwards, the boards were
cleaned front and back. Notice the
power supply just behind the
controls.
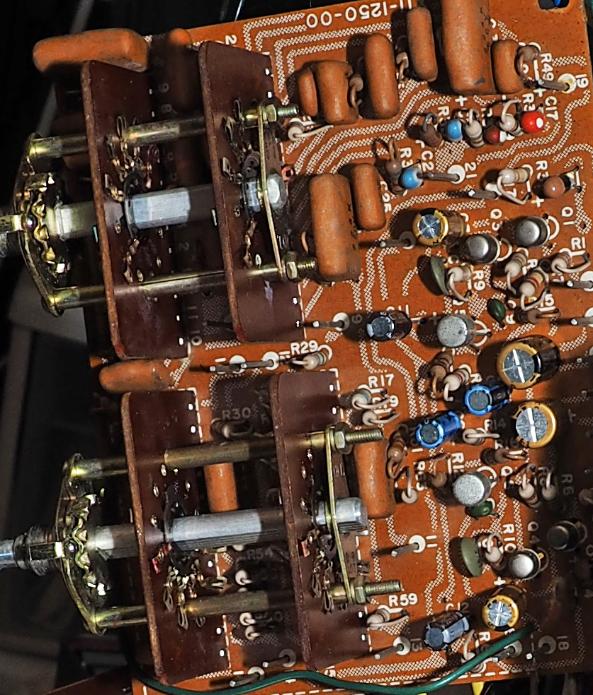
This is the lower tone board. The photo is
of the completed board. You can see the
new caps and the cleaned up wafer
switches.
of the completed board. You can see the
new caps and the cleaned up wafer
switches.
This is the power supply
board. It sits just behind the
controls. I replaced five
resistors and all the
capacitors. Many of the
resistor were showing signs of
cooking.
Also, the relay was working
but the contact armature was
cracked. This caused a
misalignment in the contact
points. Not enough to keep it
from working, but I couldn't let
that slide by. It was a failure
waiting to happen. It was
removed and tossed. A new
unit was installed.